Marketo
This article outlines the steps necessary to set up Marketo as a GrowthLoop destination. Once connected, you can begin sending audience segments to Marketo for activation!
Requirements
Marketo Access Token
You will need an access token in Marketo to enable connection to the GrowthLoop application. To find your access tokens or create a new one, follow the Marketo instructions for Creating an Access Token. Following the steps provided will create a Client ID and Client Secret, which should be saved and written down for later use connecting to the GrowthLoop application.
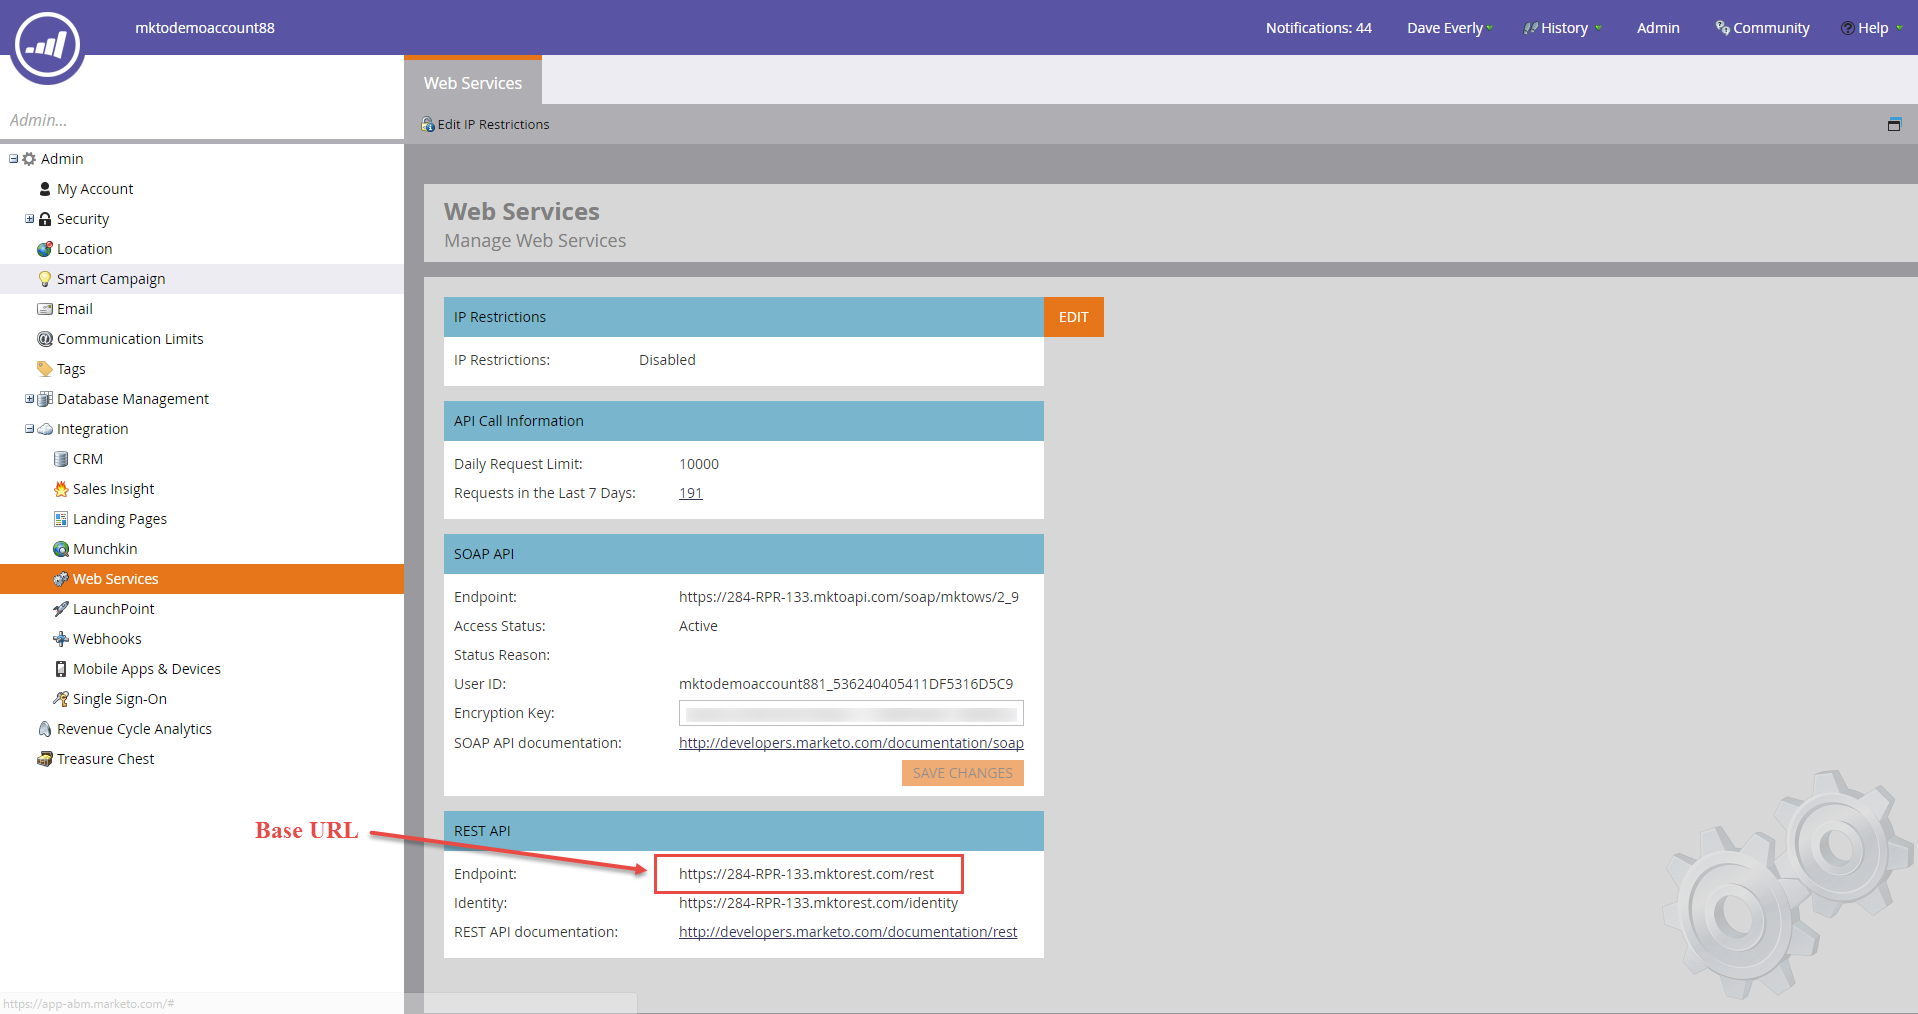
Marketo Instance URL
Follow the instructions in this Marketo documentation to find the base URL for your Marketo Rest endpoint. Save this URL without the /rest to be used as the instance URL when connecting to the GrowthLoop application. If you don’t remove the “/rest” part of the base URL, your connection will not work.
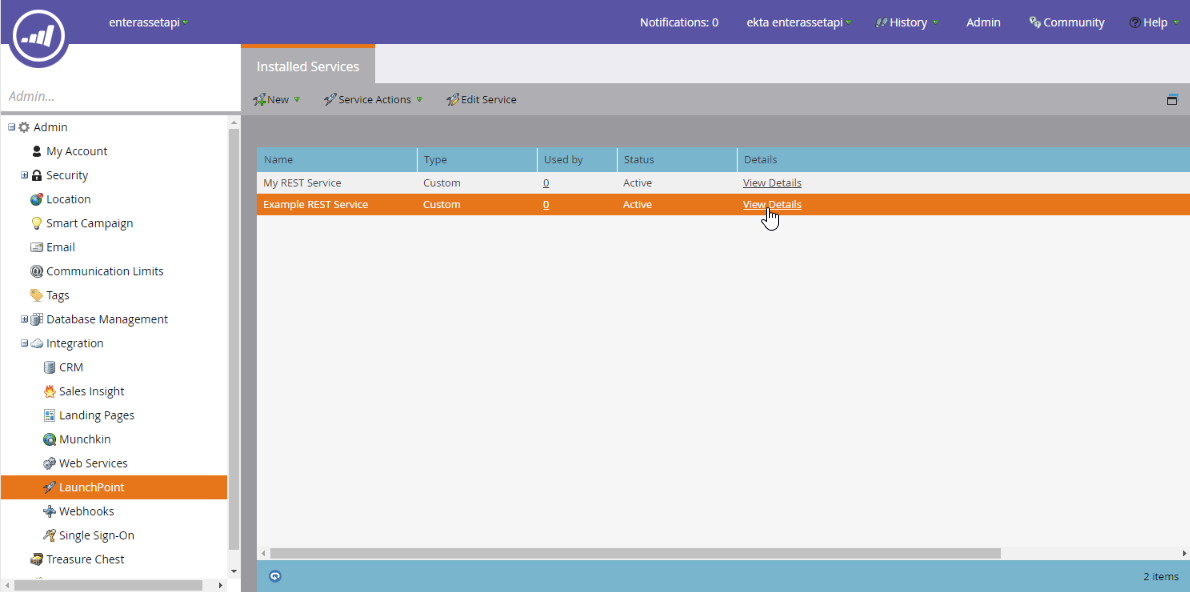
Setting TikTok as a Destination
Select Destinations from the left rail of your GrowthLoop home screen.
Click New Destination on the top right.
Scroll to the CRM **section and click Add Marketo**.
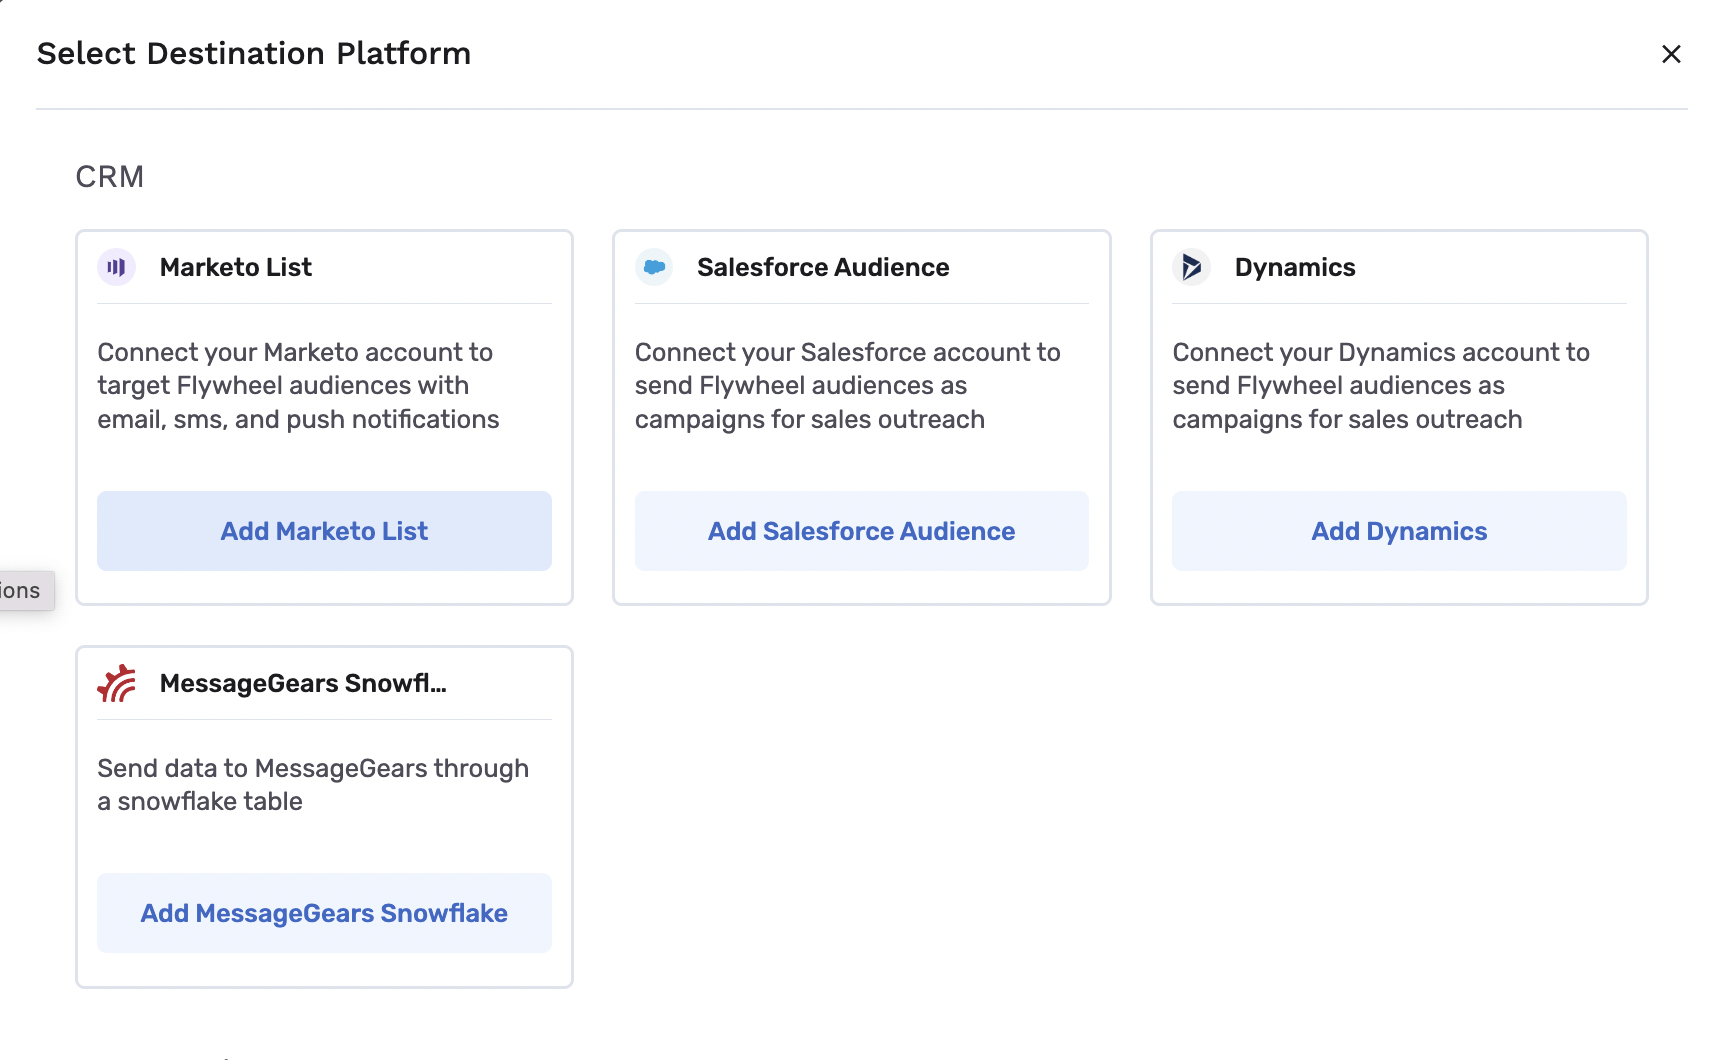
A modal will appear to configure the connection to Marketo. Enter the required information:
- Destination Name: A custom name for your destination.
- Sync Frequency: The frequency at which GrowthLoop will export audiences to Marketo (hourly or daily).
- Client ID: created when creating an access token
- Client Secret: created when creating an access token
- Instance URL: endpoint base URL without the “/rest”

Click Create and you are set to export your first audience to Marketo! You can confirm that your Marketo account is connected by clicking Destinations on the left rail.
Experiencing any issues connecting to Marketo as a destination? Reach out to us at [email protected] and we’ll be in touch shortly!
Updated 3 months ago