Redshift
Learn how to setup Redshift source connection
Requirements for Connection
- Access to an AWS account and Amazon Redshift cluster
- The user has an admin role to access the Redshift cluster. This user must also have created schema privileges.
- Add the IP of GrowthLoop’s NAT in your Redshift Security Groups so that the web app can reach your Redshift instances. Reach out to [email protected] for the IP address.
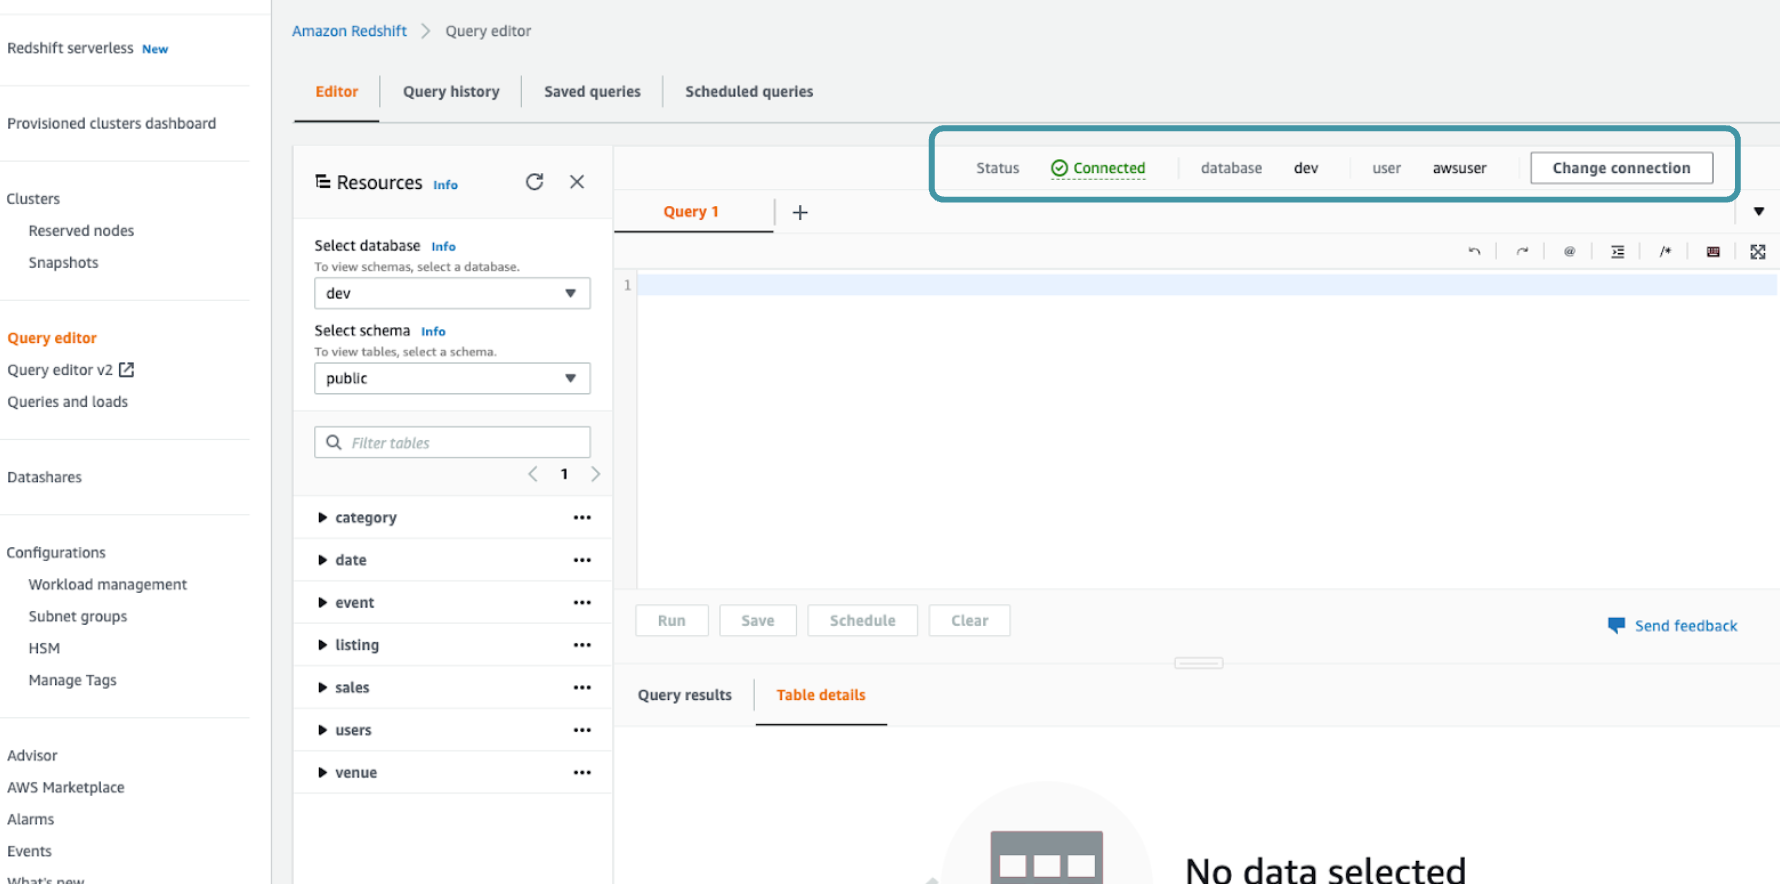
- The redshift cluster must be spun up and connected to a database. Click Connect to the database. If a database is not connected to Redshift, the status will be blank and you need to click Change connection to connect to your database.
If the database is connected to Redshift, you will see the status Connected.
- Create schema flywheel_system in the Redshift cluster’s database. In the query editor, paste and run this command:
create schema flywheel_system - If you will be using Signal Routing, run this command in the Redshift cluster’s query editor:
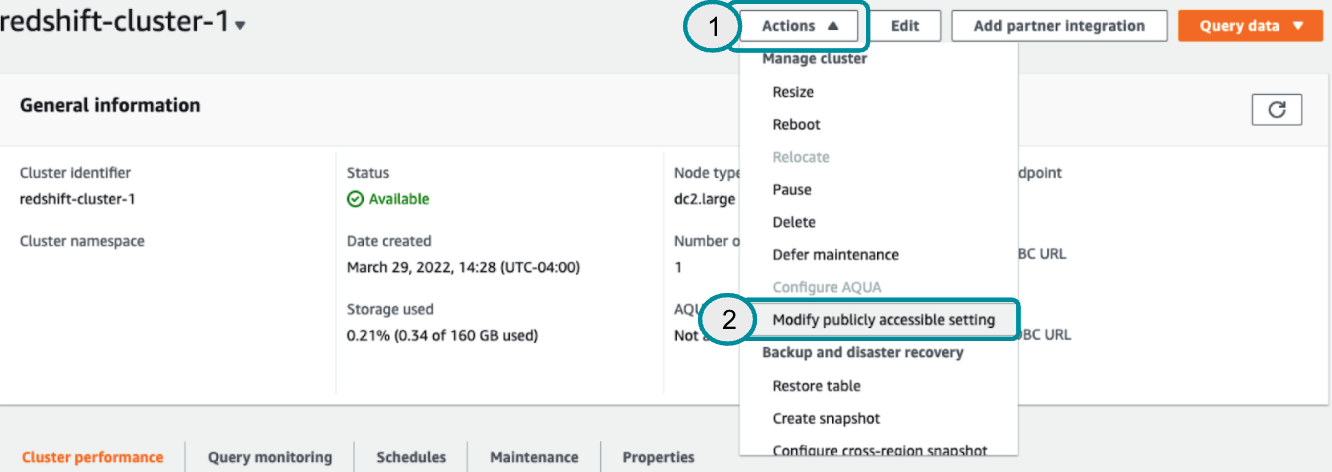
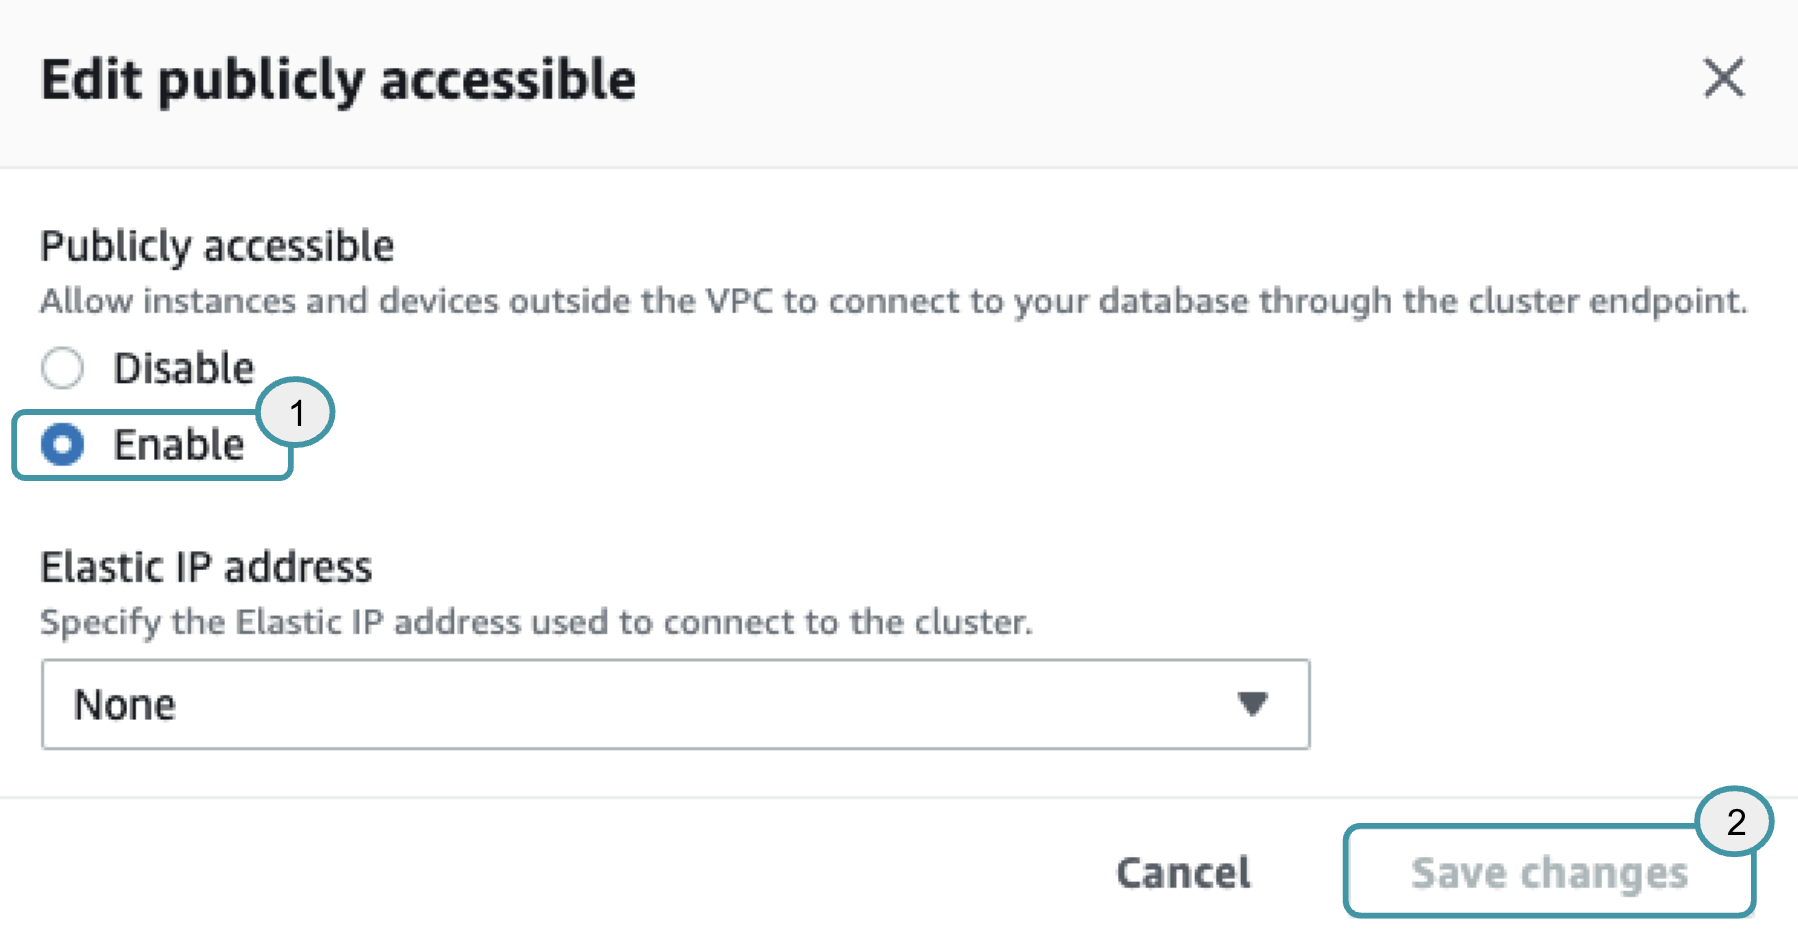
create schema signal_snapshotsSee for more information on signal routing with GrowthLoop. - Redshift clusters must be publicly accessible. You can make that change in the Redshift UI. Select the cluster, click Actions, and Modify publicly accessible setting. Select Enable in the popup and Save changes.
How To Connect in the App
- Visit the GrowthLoop application. If you were provided with a different application URL, use that.
- Sign up using your company credentials.
- If necessary, verify your email by clicking the verify link in the email sent to your email address.
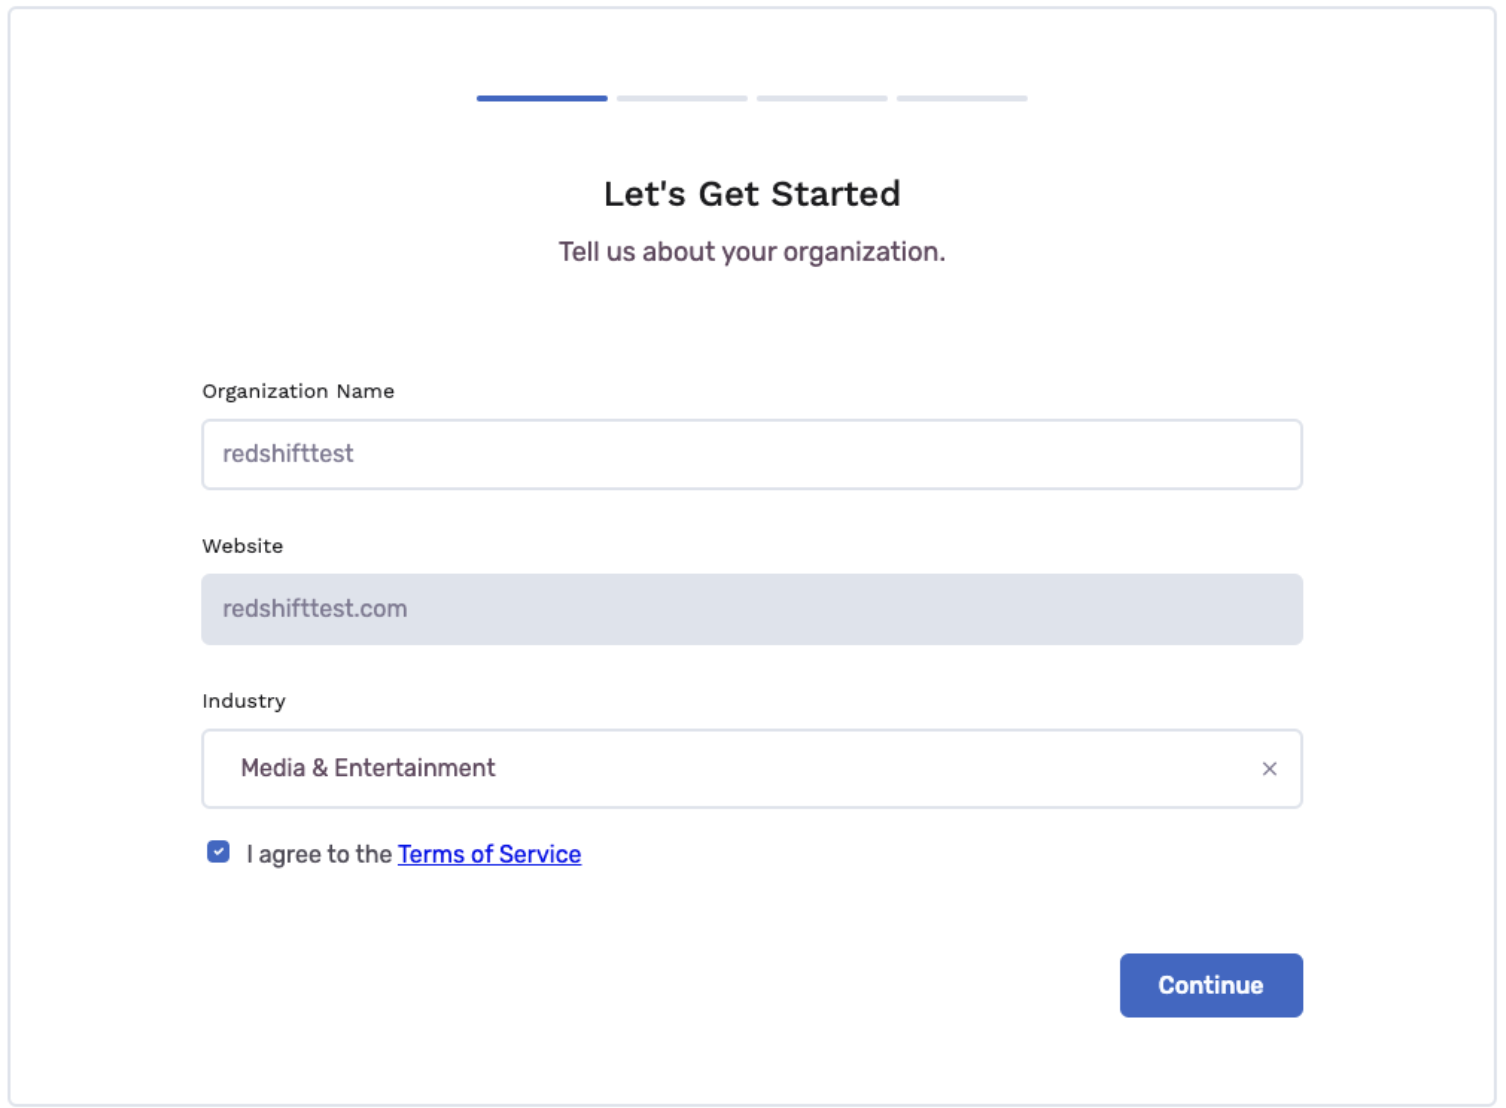
- Return to the application and enter your Organization name and Industry. Click the checkbox to agree to the terms and then Continue.
- Select Redshift as the data warehouse you wish to connect to.
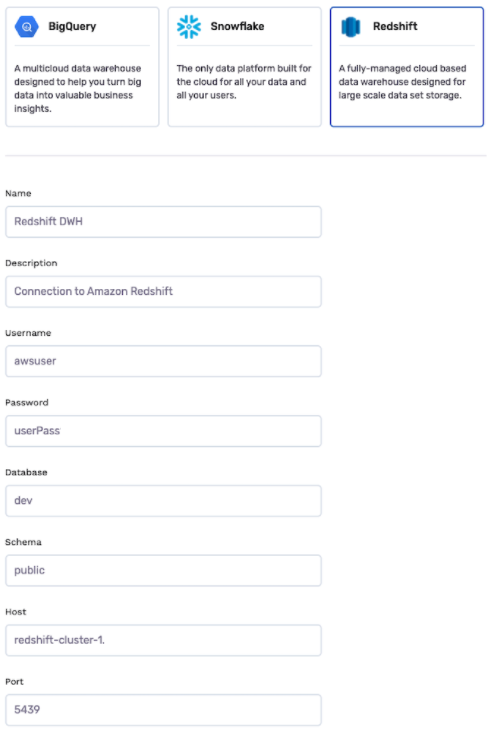
- Next, enter the required information to connect to Redshift:
- Name: name the connection to your data warehouse. This is somewhat arbitrary.
- Description: description of the connection to your data warehouse. This is somewhat arbitrary.
- Redshift username: username for the user that allows access to the Redshift cluster where your data is stored. This can be found on the Redshift cluster UI’s Properties tab, or in the Query Editor when it is connected to your database.
- Redshift password: admin user password for the user that allows access to the Redshift cluster where your data is stored. You can change the admin user password in the Redshift cluster UI’s Properties tab if necessary
- Database: name of the database that you want to connect to the app.
- Schema: name of schema for the table you want to connect to the app. For example, If you are looking to connect your user table to the app, select the user schema.
- Host: Database endpoint, without the port and database name.
- Copy the cluster endpoint. It should look have this format: :/
- Remove the port and database name, leaving just the host
- Example: redshift-cluster-testname0123.us-east-1.redshift.amazonaws.com
- Enter the edited host as the host in the app
- Port: Open the port to access the database. The port can be found in the Redshift cluster UI’s Properties tab, or as part of the database endpoint. The format of the endpoint is :/

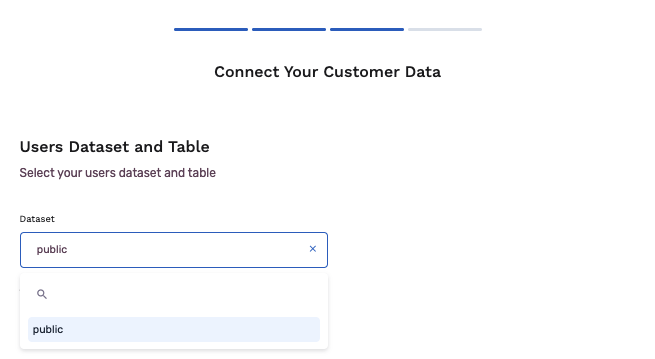
- Select the dataset you wish to connect to the app.
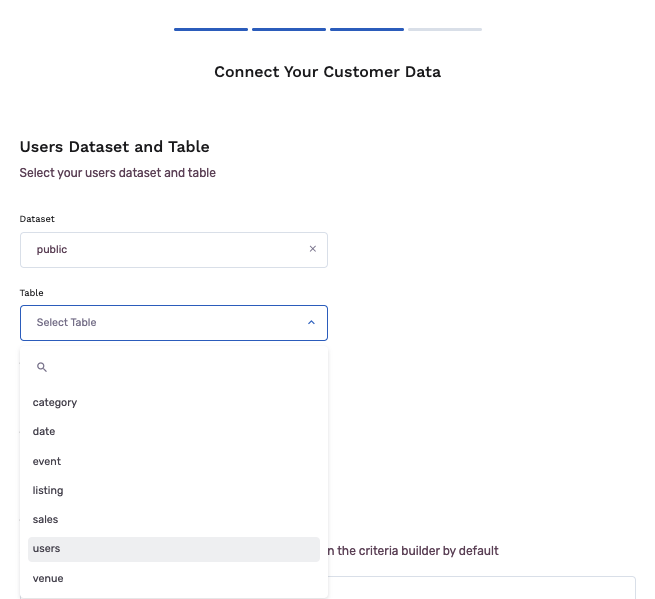
- Select a table you want to connect to. You can add more tables later, as well.
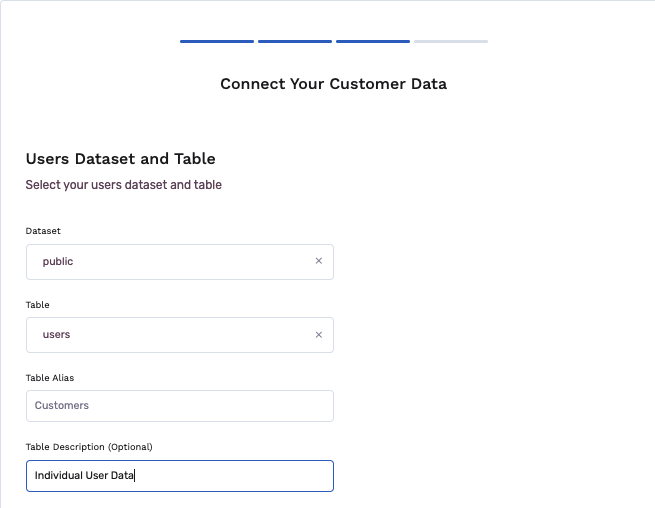
- Add table alias and description
- Select the unique key, which uniquely identifies a database record.
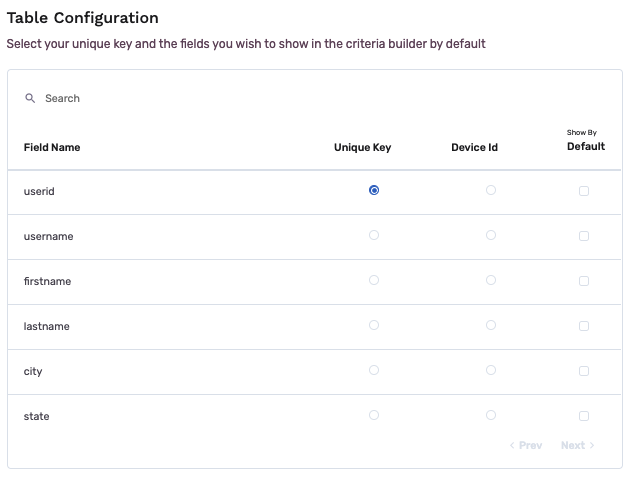
- If required, select a device ID. The device ID is often used to target an individual during a marketing campaign, so it will be necessary to define the device ID before sending any data to a marketing destination.
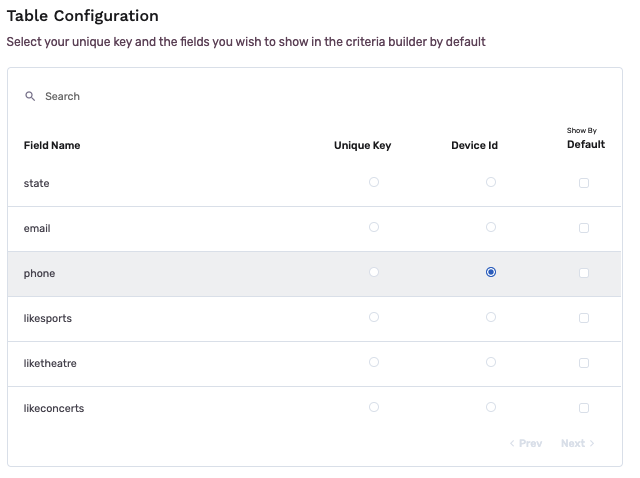
- Select fields that you would like to see by default in the app when you create a new audience. Additional fields will be available in the app to manually add to an audience. Default settings can be edited at any time in the app.
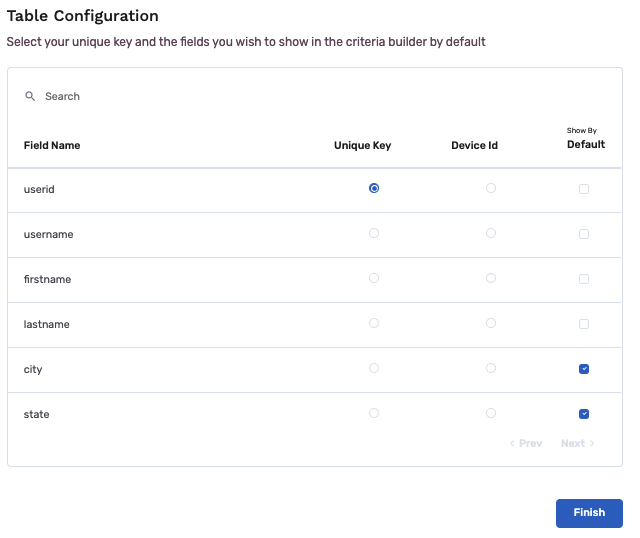
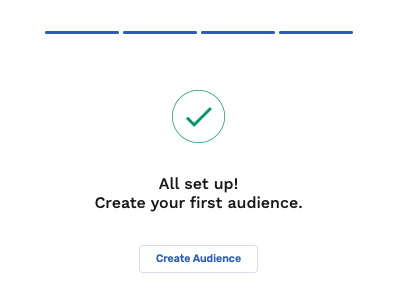
- You have successfully connected your Redshift database to the app!
Updated 3 months ago